Most people like to take or store photos. Apple devices are some of the best ways to keep digital mementos of trips, weddings, and other life events. With the high quality of their cameras, it is not surprising that people turn to their iPhones or Macbooks to serve as photo devices.
One way that Apple tried to further its hold on the public's photos is by implementing the HEIC file format. It was first introduced in 2017—and while it has caught on with people who only use Macbooks, people who use other operating systems see it as an inconvenience. After all, you have to convert the file to make sure that the photo is compatible with all websites or applications.
How to Use Mac Preview to Convert HEIC to JPG
One of the most accessible applications to use on a Mac is Preview. Not only can it view photos, but it also can edit them. If you need to add a signature, watermark, or other annotation to an image, then Preview can help. You may also do the same for document files.
The steps to converting HEIC to JPG on Mac are straightforward:
- First, open the HEIC file on Mac using Preview.
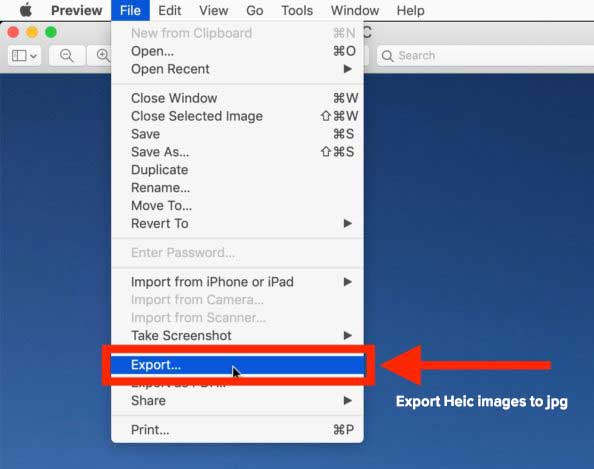
- Then, select File and then click "Export in the menu bar.
- Following this, make sure that you choose "JPG" in the dropdown menu. If you have other settings, you want to apply to the photo, feel free to input them.
- When satisfied with the photo, you can press "Save."
- The photo is now converted from HEIC to JPG.
How to Use Mac Photos App to Convert HEIC to JPG on Mac
The Photos application is one of the easiest and most direct ways to view an image on a Mac computer. The interface is lightweight and easy to use. People often use it to house their pictures taken on another device, such as an iPhone, iPad, or iPod Touch.
Since a Mac can read the HEIC file type with no problem, it should not be surprising that people do not bother to do any conversions. But if you want to make use of the photo to its most total capacity, you may do so through the following steps:
- First, connect your iPhone to your Mac.
- Transfer your HEIC photos from the iPhone to the Mac's Photos library.
- Once this process is finished, you can disconnect the phone or leave it hooked up to the computer. It will not affect the process.
- Now, go back to the Photos app on the Mac.
- Select the HEIC images you copied from the iPhone.
- Select and drag them to the Desktop. You may also copy them to any folder stored on the Mac.
- The images have been automatically turned into JPGs.
There is also another method to convert files using Photos. One way to do this is by exporting them with configured settings for colors, image size, quality, and more.
- First, select HEIC files from the Photos application on the Mac.
- Select "File," and then click "Export."
- Select "Export Photos."
- Read through all the settings. Make sure they are configured for JPG.
- Select "Export."
- The photos are now in the JPG file format.
How to Use a Simpler Way to Convert HEIC to JPG on Mac in Batch
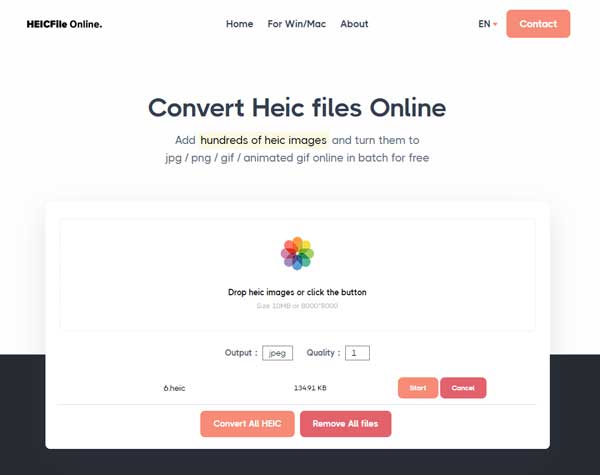
There is a more straightforward way to batch convert HEIC files to JPG. You may use HeicFile.com, a web-based service that works on any supported device. You can add hundreds of files for conversion. The tool allows you to convert them to other formats like PNG and GIFs as well.
The steps to convert HEIC files are as follows:
- Go to HeicFile.com.
- Click the "Drop HEIC images..." box to prompt your device to select photos. You may also drag them from your Mac folder to the site itself.
- Set the Output to "jpg." You may also adjust the quality.
- Select "Convert All to HEIC."
- The images are now converted to JPG.
Now that you are aware of the different options ftl change HEIC to JPG, you will no longer experience inconvenience using photos from an Apple device to other operating systems or websites. You can use a quick, online tool like HeicFile.com to convert images by batch. It saves time and also gives you the option to adjust the quality.